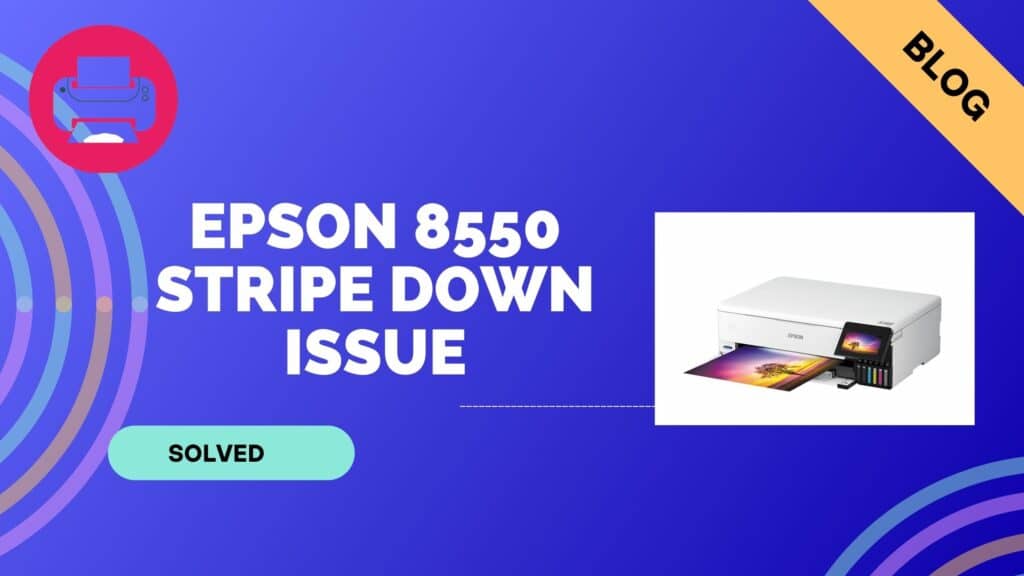
Welcome to a world where every print tells a story and every detail matters. For both corporations and creative hobbyists, the Epson 8550 DTF printer has been a reliable choice because to its accurate printing and colorful outputs. But a new problem has surfaced: a strange stripe along the center. We set out on a quest to diagnose and resolve this problem in this article, guaranteeing that your prints stay flawless and make a lasting impact. Stay tuned as we explain how to bring back the smooth appeal of your Epson 8550 prints.
The Issue With Epson 8550 DTF Middle-Only Prints
I still clearly remember setting up my Epson 8550 for the first time and exploring the worlds of Cadlink and Acrorip. But then an odd obstacle presented itself: a little 1″ strip running across the center of my drawings was a really perplexing anomaly.
During my search for a solution, I discovered a simple yet useful tip: apply tape around the leading edge. Unexpectedly, it was a huge success, bringing vivid prints to life. However, the tape solution posed a logistical problem since it was unfeasible for each and every film that was put into the device.
Come along with me as we explore ways to ensure flawless prints without using the tape trickery as we peel back the layers of this anomaly. It’s an exploration into the core of DTF troubleshooting, where each obstacle presents a chance for skill to flourish.
Solutions
I’ve encountered that pesky middle-only print dilemma. First things first, kudos on checking the nozzle; that’s a crucial step. Now, let’s dive into the solutions:
Printhead Alignment Precision:
My preferred solution is to adjust the printhead orientation. Examine the options in Acrorip v10.5 and Cadlink v10. Go to the printhead alignment area and check that the printhead is calibrated precisely. Unexpectedly, a little misalignment could end up in a disproportionately serious problem.
- Check the Software Calibration: The culprit can at times lurk in the software calibration. Check the Cadlink and Acrorip settings again. Make sure the program is translating and understanding your design correctly. Something as little as this discrepancy could end up in that annoying middle-only print situation.
- Adjusting the Media Settings: The Epson 8550 has certain preferences when it comes to media settings. Make sure the parameters correspond to the requirements of the paper you want to print on. Although it’s a laborious procedure, precision is appreciated. You guessed it: a center strip print is often the consequence of misaligned media settings.
- Printhead Maintenance: While nozzle inspections are a fine place to start, more in-depth knowledge of printhead maintenance could be required. Run a thorough cleaning cycle from the printer menu. Get rid of any possible obstructions that could be obstructing the ink flow and resulting in the strange print behavior.
- Alternative to Film Tape: If you’ve attempted to tape the film but haven’t been successful, think about using a different route. Try using many tiny pieces of tape around the edges rather than just one large strip. This can at times result in a more consistent tension throughout the movie, lessening the main print problem.
- Paper Size Synchronization: It seems that there was a conflict about paper sizes between your Epson 8550 and Cadlink. To level this out, think about making your printer’s size custom—that is, 12.95×19. Next, in Cadlink, choose the 13×19-1 configuration, which neatly corresponds to the custom size of your printer.
This painstaking synchronization makes sure that the paper selection on your printer and Cadlink’s settings work together harmoniously, removing any potential misunderstanding that may cause the annoying middle-only print problem. You could transform the game if you can get this ideal pairing of parameters. The right detail could take DTF printing from troubleshooting to smooth, faultless prints. I hope you have fun printing and that your film sheets stay pure!
Conclusion
We have walked through the complexities of DTF printing with the Epson 8550 in order to solve the riddle of the middle-only print. Everything that is created here, from exact printhead alignments to careful software and media settings, is the result of practical experience.
Recall that the goal of this trip is to become an expert in the art of troubleshooting. Therefore, don’t be afraid of such sporadic setbacks; instead, welcome them as chances to improve your skill. My fellow DTF fans, happy printing! I hope you don’t find the center stripe in any of your future designs!
FAQs
This issue can arise due to various factors, such as misaligned printheads, software calibration discrepancies, or media setting mismatches.
While film taping might not have worked initially, consider experimenting with multiple smaller tape pieces along the edges for more even tension.
Absolutely. Ensure that the paper size settings on both your printer and Cadlink are perfectly synchronized. A custom size on the printer, matched with the appropriate setting in Cadlink, can resolve this issue.
Yes, try setting a custom size on your printer (12.95×19) and use the 13×19-1 setting in Cadlink. This meticulous synchronization might resolve the middle-only print problem with A3 Plus film.
To minimize film wastage during troubleshooting, implement changes gradually. Test each solution on a small scale before applying it to the entire print job.

Ashley Wang is a skilled sales manager with knowledge in DTF printing. She presently works for ShenLan Digital, a reputable DTF printer maker. Ashley is the best person to offer advice on selecting the most suitable DTF printer because she has tested a lot of them. She launched DTFPrinterSchool to educate individuals and organizations about DTF printing technology, providing her expertise and observations on the most recent advancements in the sector. Ashley is an invaluable resource for businesses and individuals wishing to invest in DTF printing technology because of her expertise and experience in the industry.