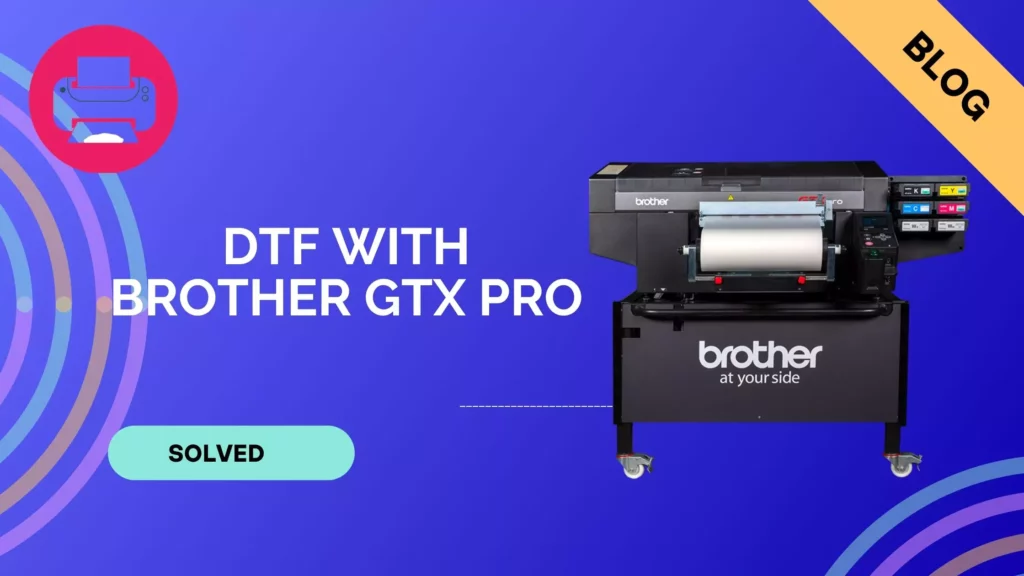
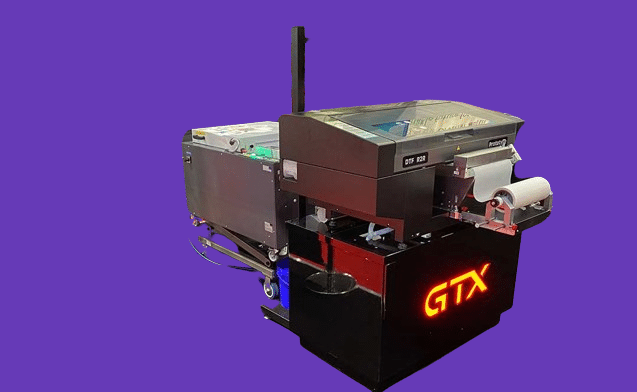
Within the ever-evolving field of contemporary printing, the Brother GTX Pro is a shining example of inventiveness. As DTF technology is used by both professionals and fans, difficulties will undoubtedly arise. Today, we explore the subtleties of DTF printing with the Brother GTX Pro, offering helpful advice and insights. Discover how to optimize your printing attempts, overcome typical barriers, and uncover the full potential of this cutting-edge printing wonder. Let’s go right to the point, where performance and accuracy collide.

The Problem with Brother GTX Pro DTF Printer
I’ve been using the Brother GTX Pro for a while now, but since I started printing DTF a few weeks ago, I’ve run across a few challenges.
To begin with, the film’s colors do not correspond to the direct-to-garment (DTG) prints. They seem to be using the appropriate shades to play a game of hide and seek. So, I’m stuck tweaking colors dependent on whether I’m going DTG or DTF.
In addition, when I print on film, it behaves like a thirsty sponge with the ink. It seems like I’m using more ink than when I used the simple DTG method.
And let’s talk about the lackluster colors. The vivid punch I’m accustomed to with DTG prints is gone, and the prints on film are as lifeless as dishwater. Why is that?
Lastly, those pesky bubbles. As soon as I press the film into the clothing, they start appearing. I’m using Graphics Lab, ink volume 3, highlight 4, mask 2, the entire shebang, according to Brother’s playbook. But still, bubbles are gatecrashing the party.
I’ve got my steps down: print, powder, heat press, prepress, press the film, cool, peel, and press again. It resembles a dancing step. But where am I missing the beat? Let’s find out how did I overcome all these problems in the next section.
Solutions
Film+Ink Combination Issue:
The key is to strike the appropriate rhythm. Print two copies of your design. Once the colors have had some time to dry, let them show off, and then let the white layer do the same. It’s like a synchronized dance for your Brother GTX Pro.
| Image | Product | Features | Price |
|---|---|---|---|
FOR EPSON PRINTERS  | CenDale Premium DTF Ink 600ML
| 9.9 | Check on AmazonGet 1200ml Pack |
ALL DTF PRINTERS  | Welacer DTF Ink Premium 6x100ml
| 9.8 | Check on Amazon10% Coupon |
AMAZON’S CHOICE  | Enlite DTF Ink 250ML Combo Pack
| 9.6 | Check on AmazonGet 500ml Pack |
WATERPROOF  | LOTSA. STYLE Premium DTF Ink
| 9.5 | Check on Amazon |
EPSON PRINTERS REFILL  | Greenland Office DTF Ink Premium 600ml
| 9.3 | Check on Amazon10% Coupon |
FOR ALL DTF PRINTERS  | Jecqbor DTF Transfer Ink
| 8.9 | Check on Amazon25% Coupon |
Better Curing for Transfers:
It’s time to rotate the backstage personnel. Perhaps a heat press isn’t up to par. Opt for a conveyor drier if you’ve got one. If not, you may use a conventional oven instead. Ensure that transfer gets the right kind of spotlight before it hits the stage.
Tweaking Pause and Ink Density:
Perhaps the ink layer is too shy, or the pause is too abrupt. Reduce the pause time to prevent the white layer from unexpectedly emerging or peeping through. Regular DTF printers ensure that the ink dries quickly by including heaters within the film.

Adjusting Print Settings:
Let’s fine-tune the orchestra. Turn up the ink volume to five to provide a daring performance. We won’t be doing an encore, so turn down the double printing to 0. For the ideal spotlight, set the highlight to 3, and for the ideal balance, set the mask to 1 or 2. Harmony may be maintained by maintaining contrast, saturation, and brightness at 10.
Handling White Edges:
Unruly edges are disliked by everybody. To counteract gatecrashing by white, increase the choke width. Imagine it as allowing those colors to have a little more space to shine without any unwanted interference. And that pause? Take your time; a good two minutes should be abundance.
Film’s Crucial Role:
The unsung hero in our DTF saga is the film. A lot of providers target inline systems with their films since they manage less viscous ink. With its powerful ink cartridge, our Brother GTX Pro requires a particular sort of partner. We’ve finally found the right provider after bouncing through thirty. With their film, we’re finding the sweet spot that our minds like, with settings of 10 – 0 for CMYK and 3 – 2 for white.
| Image | Product | Features | Price |
|---|---|---|---|
EDITOR’S CHOICE  | CenDale DTF Transfer Film – A4(8.3″ x 11.7″) 30 Sheets
| 9.9 | Check on AmazonGet A3 Size 30 Pcs |
BEST ALTERNATIVE  | Yamation DTF Transfer Film Glossy: 50 Sheets
| 9.8 | Check on Amazon |
HIGHLY VALUED  | Welacer DTF Transfer Film Paper – A4(8.4″ x 11.7″) 25 Sheets
| 9.6 | Check on AmazonGet A3+ Size 100 Pcs |
11×17″ SIZE  | CenDale 11″x17″ DTF Film –30 Sheets
| 9.9 | Check on AmazonGet 11″x17″ Size 60 Pcs |
PREMIUM 13×19″ SIZE  | Welacer Premium 13″x19″ DTF Film A3+ 100 Sheets
| 9.6 | Check on Amazon |
PREMIUM 13×19″ A3+ SIZE  | CenDale Premium DTF Film 13″x19″ – A3+ 50 Sheets
| 9.9 | Check on AmazonGet 13″x19″ 120 Pcs |
ON BUDGET  | KASYU DTF Transfer Film, 50 Sheets 8.5″*11″
| 9.5 | Check on AmazonGet A3 Size 50 Sheets |
11×17″ SIZE  | NGOODIEZ A3 DTF Film 11.7″ x 16.5″, 25 Sheets
| 9.5 | Check on Amazon |
AMAZON’S CHOICE  | JOYCUT A3 DTF Films for Inkjet Printers (11.7″×16.5″), 100 Sheets
| 8.2 | Check on AmazonGet A4 Size 30 Sheets |
Supplier’s Impact on Color Settings:
It’s similar to finding the ideal dancing partner. The majority of vendors conform to color settings between 7 and 0, providing configurations that use ink with a lower viscosity. However, the unsung hero of this story – our supplier – has us bobbing to the rhythm of 3 – 2 for white and 10 – 0 for CMYK. It’s a DTF union made in heaven, enabling our Brother GTX Pro to reach its full potential.
Try these adjustments, and your Brother GTX Pro will start to sing harmoniously. Let’s keep the colors vibrant and say goodbye to those DTF printing difficulties!
Conclusion
As we work through the complexities of DTF printing with the Brother GTX Pro, we find solutions that work well with both film and ink. These useful adjustments, such as changing print parameters and selecting the ideal film source, improve the functionality of our reliable printer. With new insights, let’s push vibrant, precise DTF prints as we say goodbye.
FAQs
Not all films are created equal. Opt for a supplier catering to higher ink viscosity, like the one we found, ensuring optimal performance with settings like 10 – 0 for CMYK and 3 – 2 for white.
It’s likely a film+ink combination issue. Try printing in two passes, allowing the white layer to follow after the colors have dried a bit.
Yes, it can be. Films designed for inline systems often handle lower viscosity ink. Adjusting settings and finding a supplier that supports ink-loaded heads, as we did, can mitigate excessive ink use.
Ensure a better cure before pressing. Consider using a conveyor dryer or a regular oven, as a heat press might not provide the optimum curing conditions.
While a heat press can work, consider upgrading to a conveyor dryer or use a regular oven for better curing, especially if you’re encountering issues with color vibrancy and ink consumption.
Experiment with a longer pause, possibly around 2 minutes, to prevent the white layer from cutting through or showing through, ensuring a smoother transfer.

Ashley Wang is a skilled sales manager with knowledge in DTF printing. She presently works for ShenLan Digital, a reputable DTF printer maker. Ashley is the best person to offer advice on selecting the most suitable DTF printer because she has tested a lot of them. She launched DTFPrinterSchool to educate individuals and organizations about DTF printing technology, providing her expertise and observations on the most recent advancements in the sector. Ashley is an invaluable resource for businesses and individuals wishing to invest in DTF printing technology because of her expertise and experience in the industry.
