Within the field of precision printing, CADLINK Digital Factory is a model of productivity and innovation. Still, a nagging issue has surfaced that impairs its smooth functioning. Even with their extensive knowledge of DTF printing, users still encounter an unforeseen obstacle: the illusive DTF mode. In this quick guide, we will try to analyze the problem of CADLINK Digital Factory doesn’t print in DTF mode, only in DTG mode and the potential working solutions.

The Problem With Cadlink Digital Factory [Epson 2100]
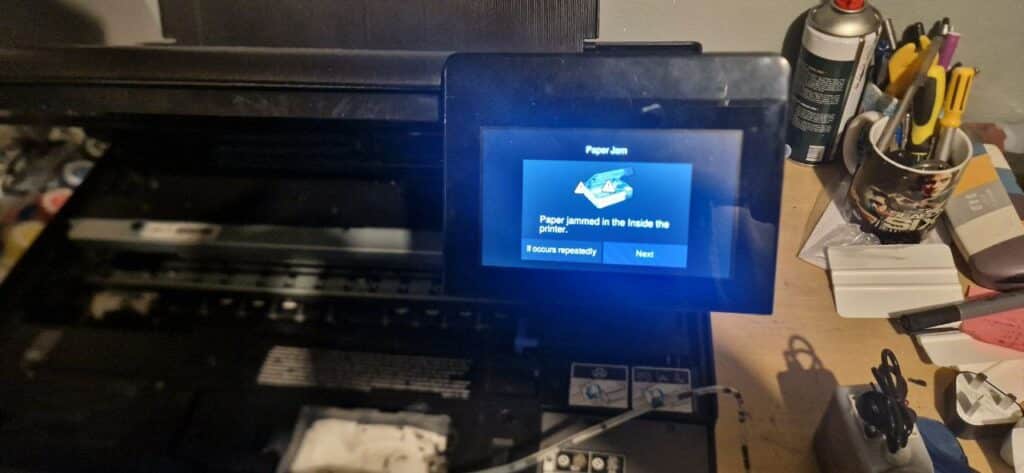
So, let me tell you about my experience with DTF printing. My Epson 2100 always gives me a hard time whether I attempt to print anything new or even go back and reprint a classic that was first published on DTF film. It insists on me laying down a T-shirt on the table and hitting that big blue button.
Here’s the tricky part: there’s this one old piece that sounds good. Epson only requests a standard paper and a casual “OK” touch. You may wonder, what’s the secret sauce. I’ve looked in all the little spaces. Gamut is configured for “transfer,” and I know exactly how to use the mirror mode.
I even made the audacious decision to completely reinstall the application, thinking that I might avoid the error. However, surprise! Nothing changed. It keeps focusing on this T-shirt obsession. I’m left scratching my brain in the hopes that someone out there has the secret to making my Epson 2100 a DTF maestro.
Working Solutions
Reviewing Your Preferences:
Make sure your printer configuration is correct before attempting DTF printing. First, use the “Queue” option to verify the printer port. When you choose “Manage Queues,” the installed printer, port information, and queue name will be shown. Verify that the print mode, paper type, layout, and paper source are all right in the queue you have chosen.
Arranging an Ink Order:
Let’s speak about ink next. pick the queue and then go to the “Queue” menu, then pick “Set Ink Order.” The ink cartridges and their installation sequence are shown in this dialog.
To avoid color errors while printing, be sure that this arrangement corresponds with the actual ink cartridges. Recall that this function is only compatible with printers that are Epson-based.
Verifying the Rasterization
Once the initial setup is complete, choose “Quick Print Test” from the “Devices” menu. In order to quickly verify the correctness of the ink sequence, this creates a color chart. You have the correct sequence of ink cartridges if the colors match the labels.
How to Run a Test Print:
Moving on to the test print, go to the “Device” menu and click on “Print Test Page.” Click “OK,” choose the “Profile test chart” file, and print. This test page uses gradients and photos to confirm the correctness of the color. You can move forward if it satisfies your quality criteria; if not, changes must be made.
Changing the Color Settings:
To make simple color adjustments without diving into intricate details, choose the task in the queue and move your cursor to the bottom right. Click the “Color Adjust” button after selecting the “Queue” tab.
Adjusting CMYK levels, ink consumption, brightness, and saturation is possible here. In some situations, the “Photo” and “Graphic” choices provide subtle tweaks for improved outcomes.
Controlling Under Base Options:
Go to the “Queue” tab and choose the “Processing Options” tab. Here, foundation parameters like Max White Ink, Choke, and White beneath Black values are within your control. These settings are essential for getting the proper quantity of white ink and avoiding problems like fading and cracking.
Eliminating Ink for Rasterization:
Using rasterized pictures is where the “Ink Removal” tool is useful. Double-clicking the queue tab will bring up the “Queue Properties” box, where you may choose the “Ink Removal” option. This section’s adjustments to hole size and ink limitation enable fine-tuning of the rasterized picture.
Examining and Configuring the Substrate Color:
Previewing your work is vital before the final print. In order to see the task visually, load it into the queue, preview it, and adjust the substrate color. For further details on the print layers and colors, you may also make use of the “RIP only” and “View Raw Data” options.
Printing the Task:
At last, you are prepared to press the print button. You can either right-click on the work in the queue and choose Print, or you can click the print symbol in the smart bar.
If the output falls short of your expectations, adjust the parameters by going back and reviewing the earlier dialogs. With the correct tools and tweaks, you can now print DTF designs with perfection.
Conclusion
In conclusion, mastering DTF printing with CADLINK Digital Factory involves meticulous setup and adjustments. From ink order alignment to color fine-tuning, each step plays a crucial role.
The journey may have its tweaks and turns, but armed with these insights, you’re ready to transform your Epson 2100 into a DTF powerhouse. Happy printing!
FAQs
Ensure your printer settings are correctly configured. Check the printer port, paper type, layout, and source. Verify the ink order and perform a quick print test to confirm the accuracy of the ink order.
For quick color adjustments, select the job in the queue, click on the “Queue” tab, and access the “Color Adjust” button. Here, you can modify CMYK levels, ink usage, brightness, and saturation to achieve desired results.
The “Processing Options” tab allows control over under base options like Max white ink, Choke, and White under black values. These settings impact the right amount of white ink and prevent issues like excessive white ink or fading and cracking.
Load your job into the queue, preview it, and set the substrate color for a visual representation. You can also utilize the “RIP only” and “View Raw Data” options for additional insights into the print layers and colors.
Yes, the “Ink Removal” feature allows adjustment of hole size, frequency, angle, and shape of dots in the rasterized image. Access it through the “Queue Properties” dialog under the “Color Layer” section.
If there are issues with colors, adjust settings in the “Color Adjust” dialog. You can modify CMYK levels, ink usage, brightness, and saturation to improve the print quality before proceeding with your DTF job.

Ashley Wang is a skilled sales manager with knowledge in DTF printing. She presently works for ShenLan Digital, a reputable DTF printer maker. Ashley is the best person to offer advice on selecting the most suitable DTF printer because she has tested a lot of them. She launched DTFPrinterSchool to educate individuals and organizations about DTF printing technology, providing her expertise and observations on the most recent advancements in the sector. Ashley is an invaluable resource for businesses and individuals wishing to invest in DTF printing technology because of her expertise and experience in the industry.